Seeing the Northern Lights in all their amazing glory was high on my travel dream list – like so many other people! In fact, experiencing the Aurora Borealis was the #1 reason for my 6-day trip to Iceland in March 2016 with friends. I also hoped to capture some decent photographs of the Lights, even though I was a total “newbie” with this special type of night photography.
First, I am thrilled to share that we were successful. Just when our search for the Northern Lights was looking hopeless, we were rewarded with a magical Lights show one evening in Akureyri! In my blog post companion piece: In Search of Iceland’s Amazing Northern Lights, I share what the actual experience of “Hunting for the Lights” was like, which should help with your Iceland photography planning.
In this “Northern Lights Photography for Dummies” post, I want to pass along helpful advice shared with me by three photographer friends who have shot the Lights in Iceland, plus additional tips from other good sources. And yes, I can personally relate to the “Dummies” title. Despite being a decent travel photographer and photo enthusiast, I hadn’t really done night photography before.
I found photographing the Northern Lights to be fun but quite challenging! I will be sharing the valuable lessons I learned – on what to do and what not to do! I’ll also cover needed camera gear and clothing for keeping warm during cold, blustery photo sessions. At the end, I have a couple good links for the more advanced aspects of Northern Lights photography you might want to check out.
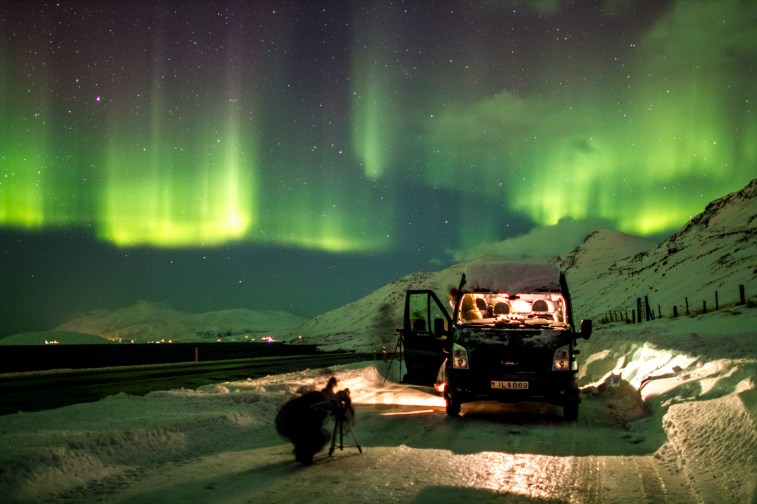
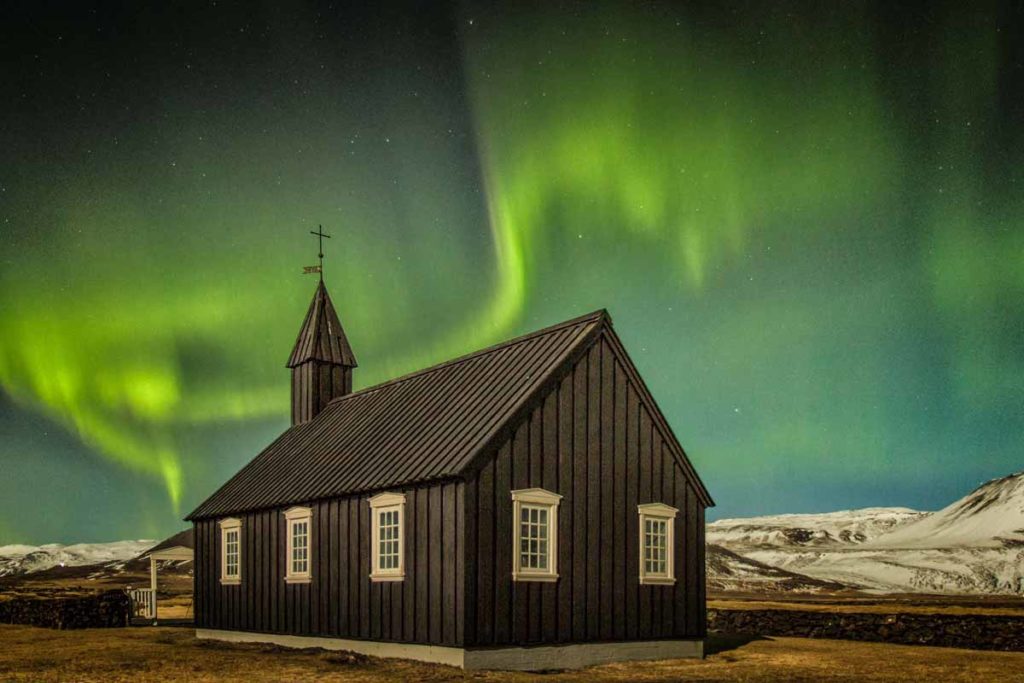
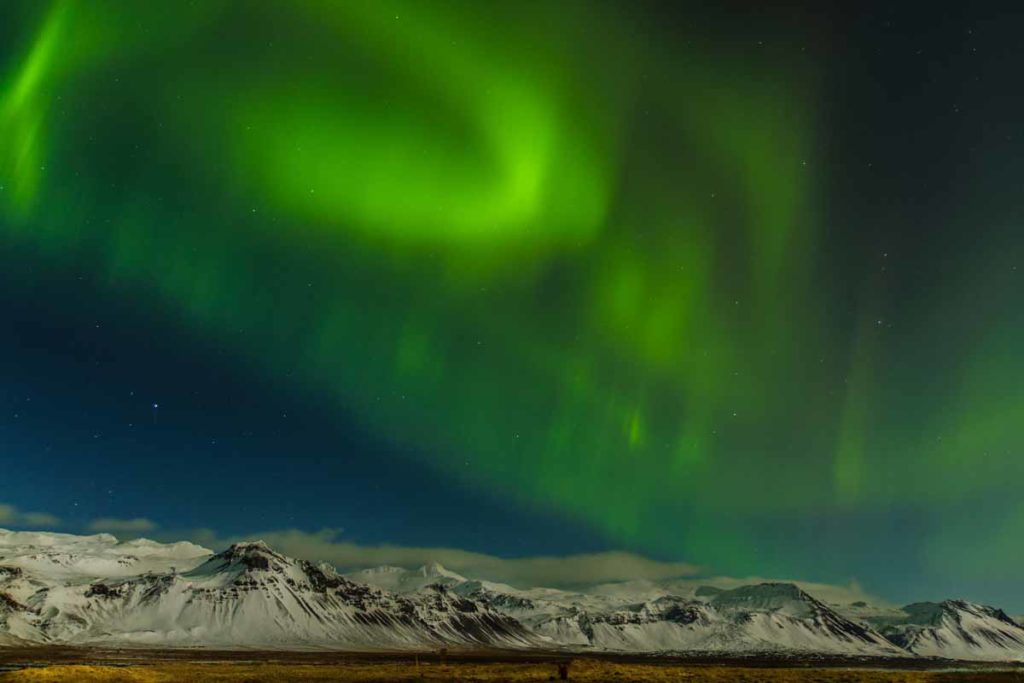
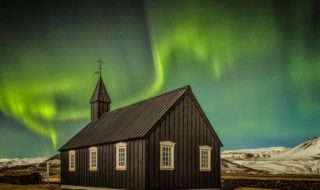
Most of the beautiful Northern Lights photos used in this article were taken in Iceland by two good friends – Ivy Gordon & Ed Lofdahl. However, a few of the “less than stellar” photos here are mine. They certainly pale in comparison but can provide some teachable moments! In summary, I want to help you succeed in capturing good Northern Lights photos on a future trip to Iceland or another Aurora locale.
Key Photo Gear
Camera – Bottom line: To get decent photos of the Northern Lights, you really need a good quality digital camera that allows you to manually focus and set the ISO, shutter speed and aperture (f-stop), which are all critical. I took my Canon EOS 70D (a decent, non-pro level SLR camera) to Iceland.
Of course, people often want to know if they can use their iPhone, iPad or compact digital (point & shoot). Kellie Netherwood in her Destination Unknown blog (link at bottom) answers the question really well: “Technically yes, but it’s challenging, your options are limited and you are more than likely going to be disappointed with the results. So, in other words – no!”
Lens – The camera lens is just as important! You really want a wide-angle lens to capture as much of the Aurora as possible and show its grand scale. I took my Canon EF-S 10-18mm (equivalent to a 35mm camera’s 16-28mm) extra wide-angle lens, which worked well. However, it is not an expensive lens so my f-stop (aperture) is only f/4.5-5.0.
The ideal lenses, which can be quite expensive, are “fast” lenses (meaning large apertures) in the range of f/2.8. For example, a f/2.8 lens lets in twice as much light as a f/4 lens, so you can greatly reduce your shutter speeds in the low-light conditions of night photography.
Tripod – A good tripod is also critical because of the long exposure times of 10-30 seconds needed to capture the Northern Lights. Camera shake from hand-held photos means blurry pictures. You want a tripod that’s sturdy enough to withstand strong Icelandic winds. Even so, you may still need to hold and brace your tripod in heavy winds like I did. Ideally, the tripod should allow you to aim your camera skyward and be tall enough so as not to have to crouch down to look at the camera screen.
Luckily, I already had a relatively portable tripod for use at home with my video camera. If not, I would have borrowed a tripod from a photographer friend since I couldn’t justify buying one just for this trip. I don’t normally use a tripod for my regular travel photography.
Shutter Release – A remote shutter release (cable or wireless) allows you to open and close the shutter with the press of a button. Doing this remotely helps avoid camera shake.
Spare Camera Battery – Cold weather can affect battery function. They lose a lot of their power at lower temperatures, some more than others. It’s a good idea to carry a spare battery with you and keep it warm in your parka pocket.
Headlamp / Flashlight – You will need some type of light source for setting up your camera gear in the dark. A headlamp (one with a red-light capability) gives you the advantage of two free hands for adjusting camera settings. In addition, remember to be courteous to your fellow photographers as your light source can show up in their photos. Try to aim your light downward and use the lowest settings on the headlamp or the red-light mode.
On my Northern Lights hunt tours, the lights were turned off inside the vehicle as soon as we arrived at our shooting destination. I really needed a flashlight to do the final organization of my photo gear and clothing (as I put on or took off layers) inside the dark van. Luckily, my small but powerful flashlight hanging from a cord around my neck (so I could easily find it!) worked well.
Related Etiquette Tip: Cover the flashing red LED light at the bottom of your camera (indicating the camera is “busy” processing files to the memory card), such as with black tape, to avoid annoying fellow photographers.
Northern Lights Photography Techniques
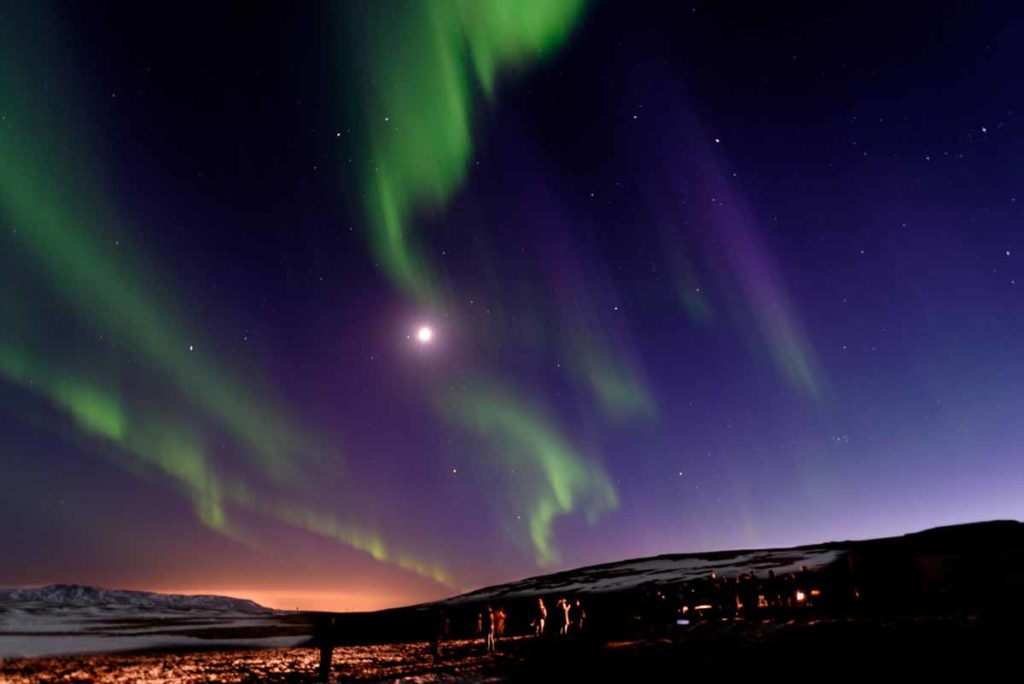
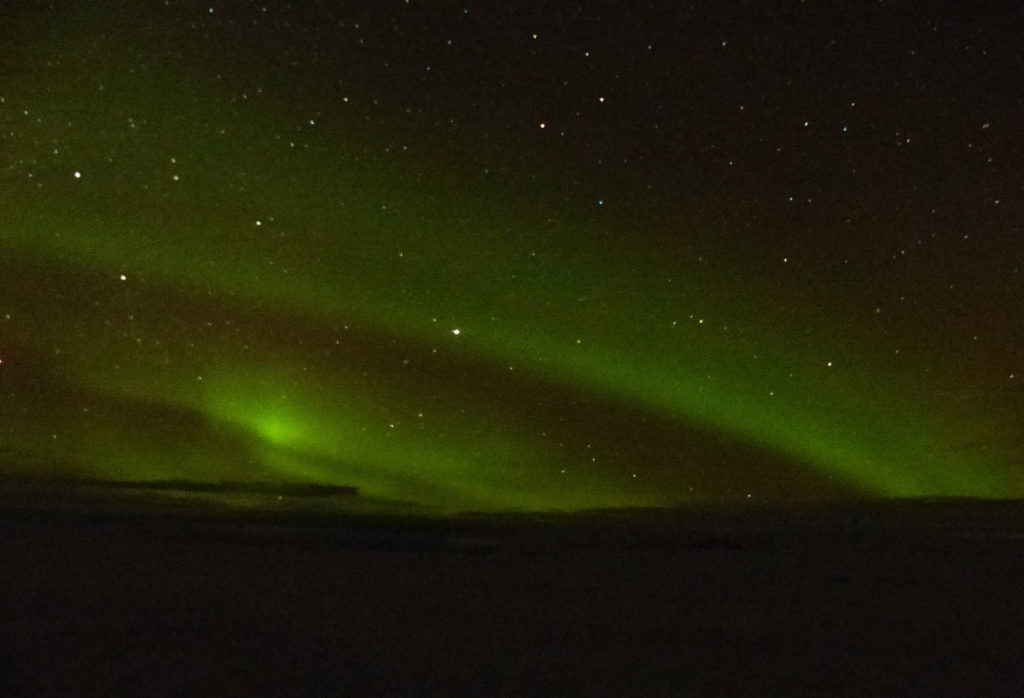
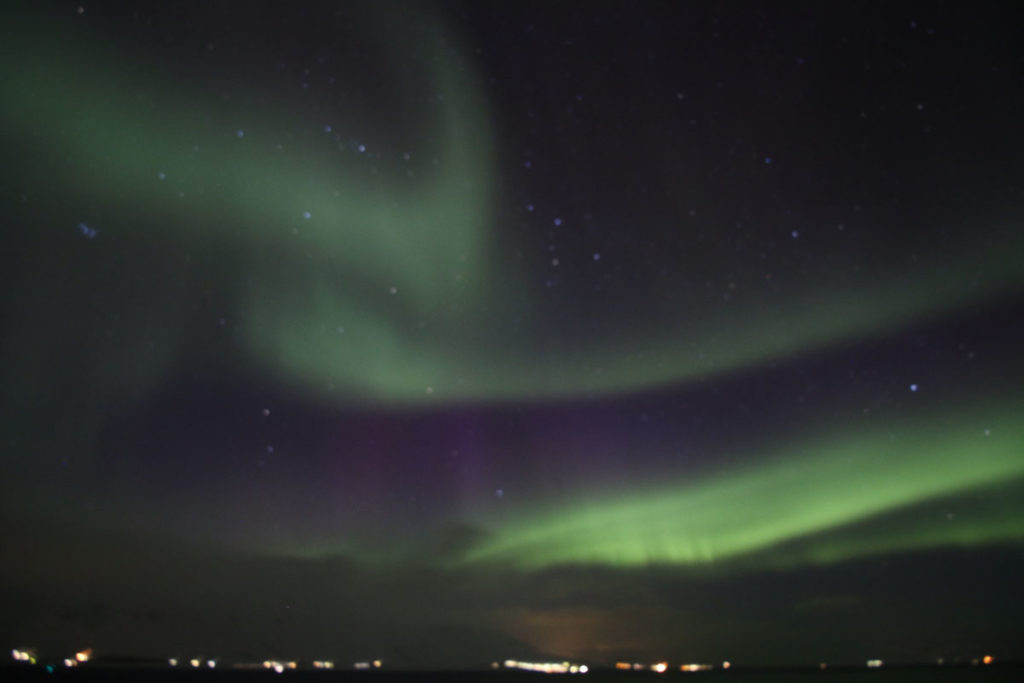
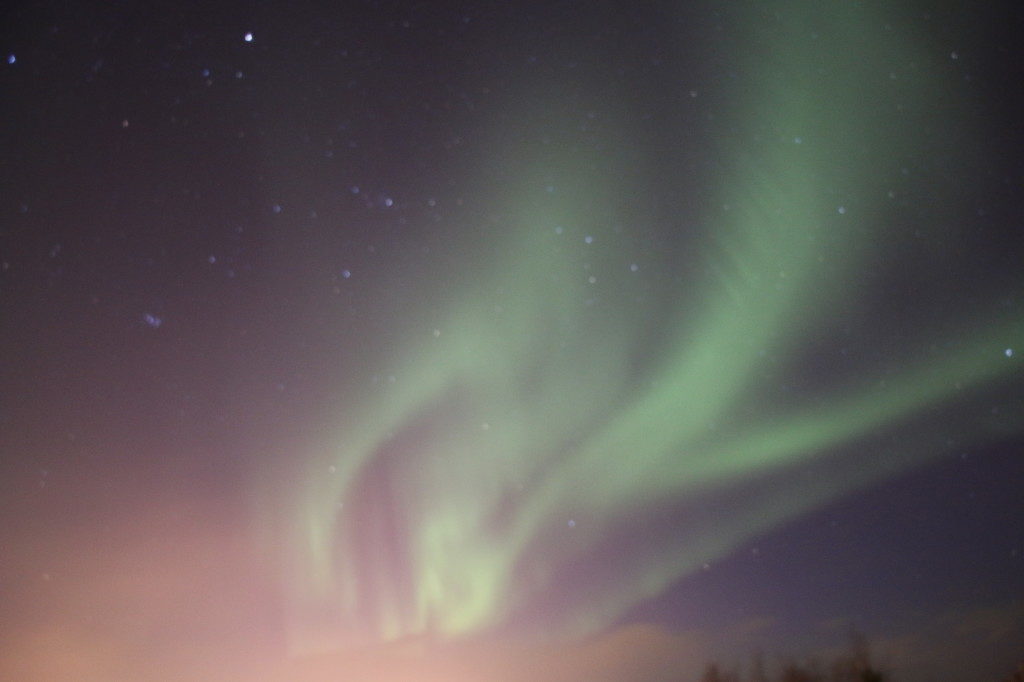
On this trip, I learned some interesting facts about night and Northern Lights photography. First, I was surprised to see the photos we took with the long exposure times show much more color than you actually see with your naked eye. The photo below on the left (by Lorie on the first night of hunting the Lights) shows much more green than we saw. It was a very muted Lights show with only one white, slightly greenish arc across the sky visible to our eye.
- Credit: Lorie Leavy / Our 1st night
- Credit: Planet Janet/ our 3rd night – the good lights
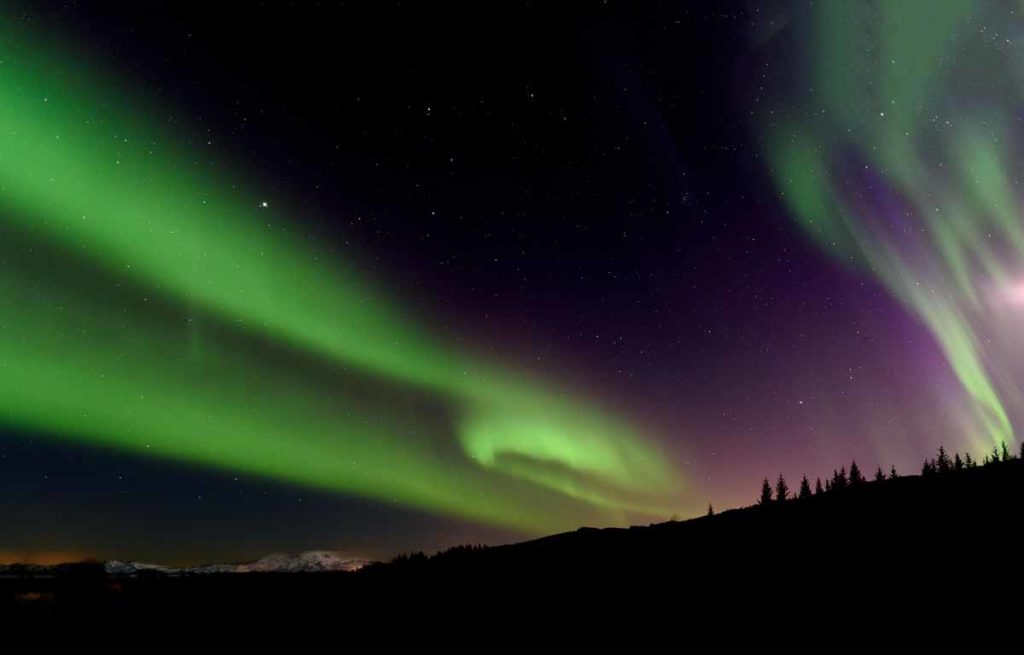
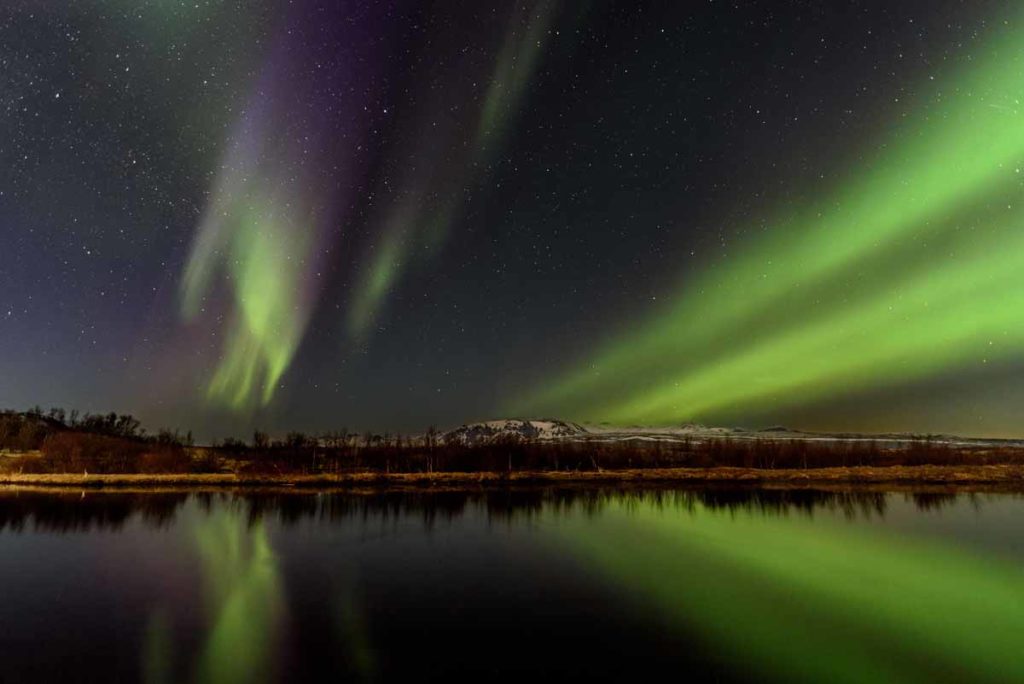
Also, I used to think that the beautiful videos I’ve seen of dancing Northern Lights were taken with video. Turns out, they are a series of skillfully done time-lapse photos stitched together. Who knew?! Plus, when viewing good Northern Lights photos (like below), the background will look sharp but the colorful Lights are a bit blurry – it’s because they’re constantly moving!
Exposure & Settings
The following three settings control the Exposure – that is, how much light enters the camera. Your settings will vary depending on your particular camera and lens. Digital photography is great because you get immediate feedback. Thus, you start with your best guess settings, take a photo, review carefully, and readjust.
- ISO – can range from 400-1600 (up to 3200). Lower settings will generally have less “image noise” (the digital equivalent of film grain).
- Shutter Speeds – are often in the 8-20 second range / might be up to 30 seconds if using a “slower” lens (like f/4) and/or the Lights are not very bright.
- Aperture (f/stop) – you want the setting as low as possible (the largest opening to let in the most light).
JPG + RAW – Many good digital cameras allow you to take a photo in both formats (JPG+RAW) at the same time. This is great! It allows you to easily view and share your photos in the usual JPG format but have the RAW file for later manipulation in photo editing software. Note: RAW photos are big files so make sure you have adequate memory card space.
Focusing the Camera
Getting the focus right (ie, sharp) is one of the trickiest parts of Northern Lights photography! It can be fairly technical and techniques may vary depending on your particular camera lens. Part of the challenge lies in the fact that you are focusing in the dark. You definitely want to learn more about your own camera and lens – and definitely practice ahead of time.
You will most likely want to set your focus to Infinity (possibly backing off just a little). My lens, unfortunately, does not have an Infinity setting so this made it more difficult for me. My tour guide on the final night (with the good Lights show) helped me focus using the Live View setting on my camera – but I wish I had taken the time to learn this in advance.
You will usually begin with your camera lens on Auto Focus and find something in the distance to focus on – a light source like a distant street light, the moon, planet or stars. At this point, you will have your camera on the tripod. Once auto-focused correctly, switch the lens to Manual Focus and try not to move anything while you are taking your photos.
Some Additional Important Tips for Shooting the Aurora:
- If you switch your scenes or move the tripod, you will need to repeat the focusing steps.
- IMPORTANT: Remove all filters and special lens, including UV and polarizing filters. They will interfere with the aurora’s light entering your camera.
- Exposure length depends on the character of the aurora. If it’s very bright or moving very fast, exposure time should be shorter or you’ll lose details (ie, become more blurry).
- While taking your photos, make sure to adjust your exposures as needed – using feedback from both the photo review and from the Histogram.
- If you haven’t used the Histogram feature before, it would be good to learn the basics. It’s actually pretty simple and a handy tool for all types of photography (day and night).
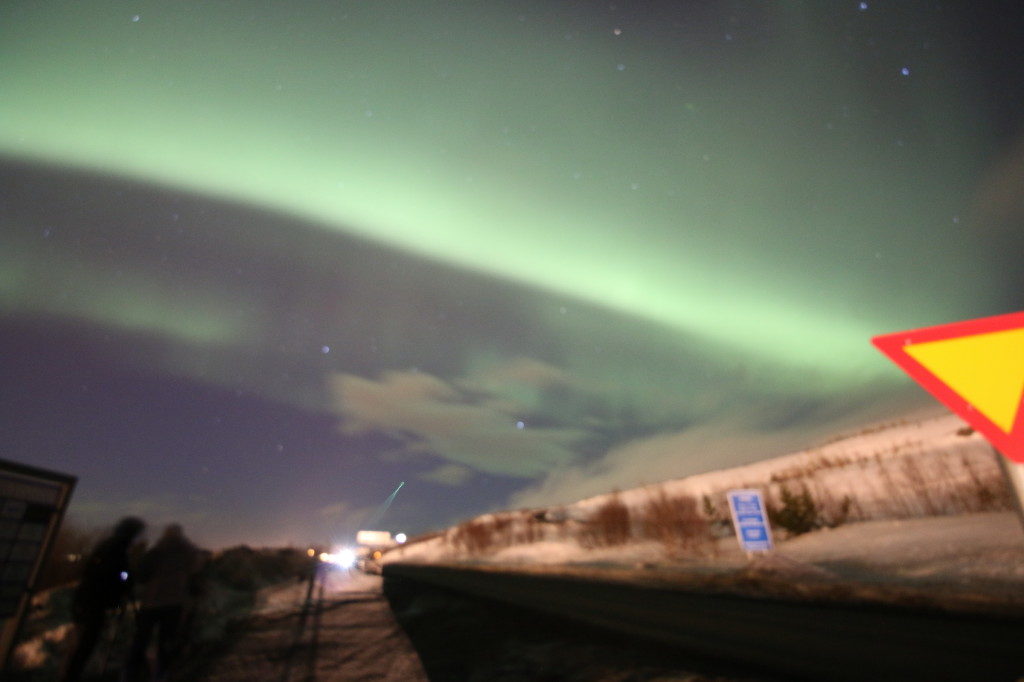
- If the Northern Lights get brighter over time, remember to reduce your exposure time – or you will end up with overexposed, “blown out” photos (like I, unfortunately, did above!).
- As you take some test shots, be sure to zoom in on your photos in your camera’s review mode to see if your shots are coming out clear and in focus.
- If possible, it’s great to have some foreground or background elements – like trees, mountains or cabins – to add interest and give scale to the photos.
- Don’t forget to change your camera settings to JPG + RAW. Unfortunately, I had my camera set on regular JPG during the day’s sightseeing and forgot to switch it back for that evening.
Clothing / Keeping Your Body Warm
Before going on my Iceland trip, I consulted with two good friends, who are serious photographers with the photo gear to match! Having gone on separate Iceland photography tours just the winter before, they had lots of great tips for me (all of which I am sharing here!). They both mentioned how cold they were at times, especially their hands.
I took that to heart as I prepared for my trip. I realized one factor that makes Northern Lights photography so potentially cold is that, unlike hiking and doing winter sports, you are standing still for long periods of time. And you’re doing this at night in the dark. Plus, if Iceland’s brutal winds decide to kick up, it can be downright frigid. So, you want to be prepared for the worst weather and hope for the best!
If you have read my blog article: In Search of Iceland’s Amazing Northern Lights, you’ll see that the second of our three evenings attempting to photograph the Lights (between around 9pm – midnight) was particularly brutal because of the high winds. That evening, I wore everything (all my layers) that I took to Iceland. I have listed them below to give you an idea on how you might want to dress for needed warmth.
My Iceland Winter Clothing (from bottom to top):
- Fur-lined Sorel Tivoli High II snow boots from REI – high in case of deep snow
- Smart Wool socks (also from REI – the heaviest weight)
- Thin sock liners worn underneath the wool socks – to wick away moisture from my feet
- Capilene long underwear bottoms (light weight)
- Sporthill pants – winter sports wear (windproof /water resistant)
- Capilene long underwear top (medium weight)
- Long-sleeved shirt/blouse (relatively light weight / breathable – again to wick away moisture)
- North Face fleece jacket (my heaviest one)
- My new blue Patagonia down jacket (bought specifically for Iceland!)
- My “turtle fur” neck gaitor
- Wool hat / cap (bought in New Zealand – mix of merino wool & possum fur)
Gloves & Keeping Your Hands Warm
The challenge here is finding a balance between much needed warmth for your hands and being able to operate your camera! What worked for me was wearing Smart Wool gloves (a lighter weight) as glove liners and then heavy wool mittens on top. Luckily, I could operate my camera settings with the glove liners on – giving much more protection than bare hands. As soon as camera adjustments were made, my right hand went back into my mittens or into the pocket of my down jacket with a hand warmer inside.
A staple for Northern Lights photographers are chemical hand warmers / heated packets such as HotHands Hand Warmers. You’ll want to activate these packets about a half hour before you’re ready to hit the cold air to give them time to sufficiently warm up. Then you pop them into the pockets of your jacket where you can place your hands for some quick warmth! The company also makes foot warmers which you can put in your boots. I didn’t need to use the foot warmers, but some people did.
My Challenges with Northern Lights Photography
The experience of photographing the Northern Lights was both exhilarating and challenging for me. The challenge was certainly due, in large part, to my (already mentioned) inexperience with night photography AND not having practiced ahead of time with my camera because of time constraints. Bad move on my part!
Mix in the Icelandic cold, wind, darkness and excitement of seeing the Lights (and feeling the urgency to capture them ASAP in case they suddenly stop!) – and it’s easy to see why a less-than-professional photographer might get a bit flustered at times. My first night out was the worst – in the fumbling department – but I did gain confidence with time.
Lorie, another “enthusiast” photographer like me, was on two of the same Northern Lights hunt tours. After the trip, we shared our Lights photos, agreeing that they certainly weren’t National Geographic caliber (by a long shot!) but were a great memory, nonetheless.
I thought I would share Lorie’s amusing comments about her photo challenges to help keep it all in perspective. She wrote: “Reading my notes on how to photograph the Lights, it all looks so straightforward. However, all bets are off when:
- Your hands are frozen
- You don’t have anything to pre-focus on
- People keep blocking your shot or bumping your tripod
- Cars keep driving by!
My Final Recommendations:
- Practice with all your camera gear at home – including some night photography – so that you’re completely comfortable & have all your gear and techniques refined before Iceland.
- In particular, make sure you have mastered focusing in the dark at night and taking long exposures (such as using the bulb feature).
- Even though you will be very focused on getting great Northern Lights photos under a dancing Aurora sky, don’t forget to stop shooting sometimes and just look up and really enjoy the amazing experience!
- Keep a sense of humor and perspective about it all. Yes, we all see those amazing Aurora Borealis photos (like Ivy & Ed’s above) but we don’t really know the hard work, great skill (and often expensive camera equipment) involved in getting the shot!
- Check out the great articles below for more information.
ADDITIONAL HELPFUL RESOURCES:
How to Photograph the Northern Lights – by Patrick J. Endres – detailed e-book for a fee
How to Photograph the Northern Lights – a good article by NightSkyPix
To Read More of My Winter Iceland Blog Posts, Check Out:
- In Search of Iceland’s Amazing Northern Lights
- Iceland’s Winter Wonders: Northern Lights, Reykjavik, Bjork & More
COMMENTS: Have you ever photographed the Northern Lights? Where was it? How was your experience? What tips do you have to add?

Post a Comment